
Bienvenido a la sección de ayuda
Live Fees Manager
The fees manager is almost like a live spreadsheet. To use this module you simply click on Fees Manager. Note that most versions of Internet Explorer have reported speed issues when handling large amounts of data. We highly recommend Google Chrome or Firefox as web browsers which provide the best performance.
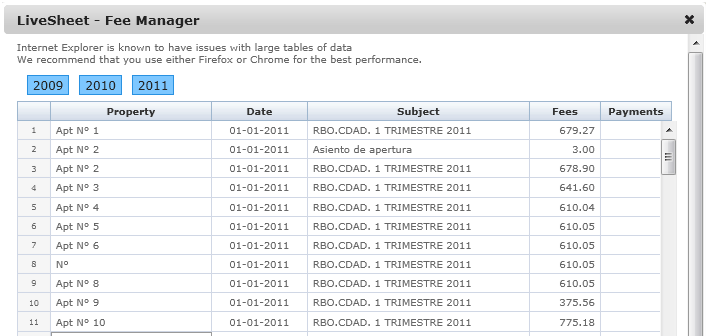
The fees are separated by year, in order to provide user with better and easier data management. Fees are always issued against a property, and the date subject, Fees (amount due) and Payment (amount credited or paid) is on each line.
NOTE: Modifications on this sheet are live and any changes are applied immediately and saved as soon as you can make the change.
You can use this sheet to make any corrections or modification or for directly entering more transactions. To enter more transactions, scroll to the bottom of the spread sheet and you will see (+) that allows you to add more rows. Figure 2.5.
Once you have added a new row, you then have to select the property. In order to select the property, double click in the property cell. This will activate the field and allow you to select the property using the drop down menu. In a similar manner double click in the date, subject, Fees or Payment to enter the corresponding data.
If a row of data holds incorrect data and needs to be deleted completely, all you need to do is hover the mouse over the row number to the left hand side of the Property field. By doing see you will see a delete icon (x) which allows you to delete the entire row. Note that this is deleting live data and once deleted cannot be retrieved.
To close this screen and the live spread sheet, simply click on the cross on the top right hand corner of the screen.
[Languages Available]